Sunday, March 30, 2014

Craft Book March finish!

I missed the Craft Book SAL in February. I actually had a project done! It was a Bear Paw quiltlet, super cute.

I had spent many hours at a Debate tournament hand sewing the pieces and then quilted it on a road trip to look at colleges in VA. While staying at this B&B  in VA. we ate breakfast with a lovely young couple. Treva informed me how much she loved quilts and how she so wanted to learn how to quilt so...I gave her the Bear Paw. Sadly, in my excitement of giving the quiltlet to her, I did not get a picture so thus no project to show for February. Oh well. You'll have to trust me, it was sorta cute!

So in my eagerness not to miss March AND my longing for spring, I was eager to get this month's project done. This bag was actually finished the first week of March.

A simple bag in nice spring color of yellow and light blue.

My lovely assistant!

This was a fairly easy sew. The Go-Go bag finished generous in size and the pattern is from this book by Sara Lawson:
Image from Amazon.
I used a nice canvas weight yellow toile for my main fabric and a light blue wool for the lining. It actually turned out to be a bit too much stuff and some of my seams were difficult due to bulk. I do so love sewing with wool though, I would do it again just probably not with fusible fleece AND Soft and Stable. I stole the hardware off an old Tommy H. bag. I actually learned a bit about bag construction when I took the Tommy bag apart.

My favorite part of the bag, the back. I fussy cut the fabric.

Inside peek.
The directions said sew the accent piece on and then work with the lining but I wanted the sewn pattern shape to show on the inside of the bag so I did them together.

Poor machine, really got a work out on this one.


Tuesday, February 11, 2014

Rockin' Along with Goodnight Irene


February is just flying by. Between prepping for College visits, attending long weekend  Debate tournaments and work it seems like the first of the year just rolled around yesterday. However, I KNOW that is not true, well....because the calendar says it is February 11th! I am sooo happy that on the very first weekend of this month I sat down at my machine and finished my February assignment for the Goodnight Irene SAL. And, just today did I have sunshine, a day off and time to take pictures of my progress!!

TaDaaaa.......!!
My Goodnight Irene will be twin(ish) sized so to be on track I needed to have 6 complete rows done by the end of the month. Yay, did that! I am sewing my blocks and rows together as I go along due to a BIG BIG fear that this quilt will not be completed in a timely manner (if at all), if I don't do so. I am okay if two identical 2 1/2" squares end up close together or heck even side by side! Equally okay if two of those small triangles end up lovin' each other. It does go against something in my nature but, I have decided to just let it go. :) My hope is to be all done by the time my son's wedding in May comes along.

By the way, are you loving this pattern as much as I am? It is so simple yet produces such lovely results. I have been visiting other's blogs and looking at their progress and every single one of their quilts is so lovely and beautiful. So impressed with all the talented quilters and sewers out there.

Just love this pattern. Am so happy I decided to SAL!


Friday, January 31, 2014

Goodnight Irene SAL - January Progress

Most of the blocks for Terry's Goodnight Irene SAL January assignment have been done for a while now. This was one of the first projects I started for the new year and the first major quilt that I have attempted, with one exception, in a very long time. To finish it the size I want to and to finish with everyone else, I need to sew 3 rows of 7 blocks (for a total of 9 rows) each month. I am a couple blocks short of that but worked on it some today and hopefully will be all caught up by the end of the weekend.

Really love this quilt pattern!
I am using Kansas Troubles II jelly rolls for my prints and a cream cotton couture for the X blocks. These are not normally colors I would choose being a brights person but I really like them in the quilt pattern.

Some of the prints in the Kansas Troubles II lineup. Cream cotton couture underneath.

Very happy with the way the quilt is coming together!
After having visited many of the links Terry has on her blog I am amazed at the talented group of quilters sewing along! So fun to see other peoples fabric choices and sew along with them. Thanks Terry for hosting!


Tuesday, January 28, 2014

January Make A Garment a Month and the January Challenge


Sarah Liz challenged us to a new beginning for January. This is right on track with my personal sewing goals for the year so I was ready to try some new sewing techniques, some of which I have been thinking about for a while. Sometimes we just need that extra push to get us going and Sarah Liz provided it for me.

First off to my GAM. This is not the garment I chose or wanted to sew but it is the one I ended up finishing. As some of you know, I work in the sewing business, here. The owner wants me to teach classes which I love and am happy to do. This month, she wanted me to put together some shop samples in anticipation of upcoming classes, one of which uses this cascading ruffle skirt pattern: 

Love everything about Joel Dewberry, including this easy skirt pattern.
The pattern calls for medium to lightweight quilting cotton but here in the Midwest we are in a deep freeze and I couldn't bring myself to use a lightweight cotton this time of year.  Instead, the skirt is made with another piece of home decor fabric. A while back a very good friend's mother gifted me with boxes and boxes of home decor fabric so I have been using it up making wearable muslins...well sometimes they are wearable.

Liked the skirt better in pictures.  Didn't realize how wrinkly skirt was until I saw this picture. Wow.

I made a  few changes to the front ruffle and did mine with a contrast fabric on one side of the ruffle piece. I wish I had put the contrast on the inside of the skirt ruffle instead of the outside. I think it would look better. The jury is still out on if I actually like the skirt. I am not crazy about it that is for sure. I need a solid black top to go with it and I don't have one that is long sleeves so that may be my February garment. The pattern calls for a rolled hem on the bottom flounce. The rolled hem is also on the ruffle.

Not really suppose to be a full ruffle but I made it one. Seemed more couture like. :) :) 
This was an easy pattern to sew and the directions are very clear and concise. It does have an invisible zipper which a beginner may find difficult but there are tons and tons of tutorials on invisible zippers online.

No need to fear zippers. Tutorials abound, here, here and here are a few. 
Overall, liked the pattern but not crazy about the finished skirt. It might grow on me with a nice blouse and some accessories.

Outside

On to the other January challenge which for me was interpreted to mean learn a new sewing technique. I tried two different ones. Closures using a dart and the back kick pleat for pencil skirts. The dart closure is sooo simple but gives amazing results. Here is a great tutorial. And below is my sample. I love this technique and plan on using it often.


Inside dart closure
Finished kick pleat outside
The other technique is from an old Sew Stylish magazine for a basic kick pleat. My daughter is in need of a few pencil skirts so I wanted to get this one down. Again, easy to do and the resulting pleat will be so nice on her skirts.

Inside kick pleat.
January was a very good month for me sewing wise. I finished a purse, a table runner for a friend, a mini Log Cabin quiltlet, this skirt and another shop sample, a cowl neck knit blouse for my daughter and a cell phone wallet.

Now off to iron that skirt. :) 

Sunday, January 26, 2014

A Mini Finish.


Kind of on a whim at the beginning of the year I joined the Sew Can She Mini Log Cabin sew-a-long.  A quick SAL that only last until January 29th; the goal of which is to produce at least one 4 1/2" Log Cabin quilt block. A perfect project!

Some years ago I was going to attempt a queen size Log Cabin quilt but (thank goodness) was talked out of it by a friend and quilter. She didn't actually say "don't do it". What she said was......"hmmmm that can actually be a somewhat difficult pattern". Since she is AMAZING and accomplished as a quilter, I took the hint and passed. So glad I did because at the time in my sewing it would not have been a positive and I most likely would have never finished the quilt.

This mini quilt though would give me a good run through of what I needed to to make a larger one in the future.

I have long had a fascination with the Log Cabin pattern. There is something very distinctively pioneer about it. Something rugged, solid and sturdy. Like it will last. In today's throw away age this particularly appeals to me.  My inner traditionalist really comes out with this quilt pattern. At my core I believe it should be finished with solids. They can be any color, light and dark but must be solid. While I have seen many stunning Log Cabin quilts made with gorgeous fabrics, mine needed solids. Since this year I am attempting to sew sthrough my stash and already had a small tub of solids set aside for a project, it was easy to get started.


The cutting was not very difficult but took a bit of time. I did figure out a way to make it faster as I went along by not trying to be so precise and squaring things up later. I chose a George Mendoza print from 2009 for my tiny 1 1/2" centers. Love this line, even if it is older. And if you don't know the story behind the artist you might enjoy reading about him!

Center blocks
A good tip on cutting the strips for the logs is to cut on the lengthwise grain instead of across the grain. Even woven fabrics have a bit of stretch on the cross grain. Your fabric will be a lot more stable lengthwise making it much easier to keep your logs from getting wonky and helping with your precision.

For piecing, a scant 1/4" was used. I really wished for a straight stitch plate for my machine which is so helpful in keeping lightweight fabric from bunching down in your needle plate. But, I resolved to NOT spend money on my sewing for one month so had to find a different way. Another problem on a scant 1/4" can be that your fabric is not on top of both feed dogs. A simple and FREE solution for both possible problems is to use a "starter fabric". Once I got going I then just chain pieced everything.

Fabric was so lightweight that it kept wanting to bunch up even with my small hole 1/4" quilting foot. This technique kept that from occurring.
After every log was added I square up the block. This was pretty tedious but necessary for a nice square 4 1/2".

One family liked this one!
2 family members liked this one!
Then lay out and sewing the blocks together. My lay out went pretty quick as I already knew what I wanted to do with the blocks. A small mini quilt to give as a gift for a wall hanging.

No ones first choice.


The final design all quilted up. Quilted all the seams to make a pretty design on the back. 
Very happy with the way the quiltlet turned out. And completed before the deadline. :) :)

Saturday, January 18, 2014

Hello my name is Judy and I am a FABRIC HOARDER.

Something bothersome is the amount of fabric, notions, sewing "things" including craft and sewing books that have accumulated in my home since the 1980's. I think too many.
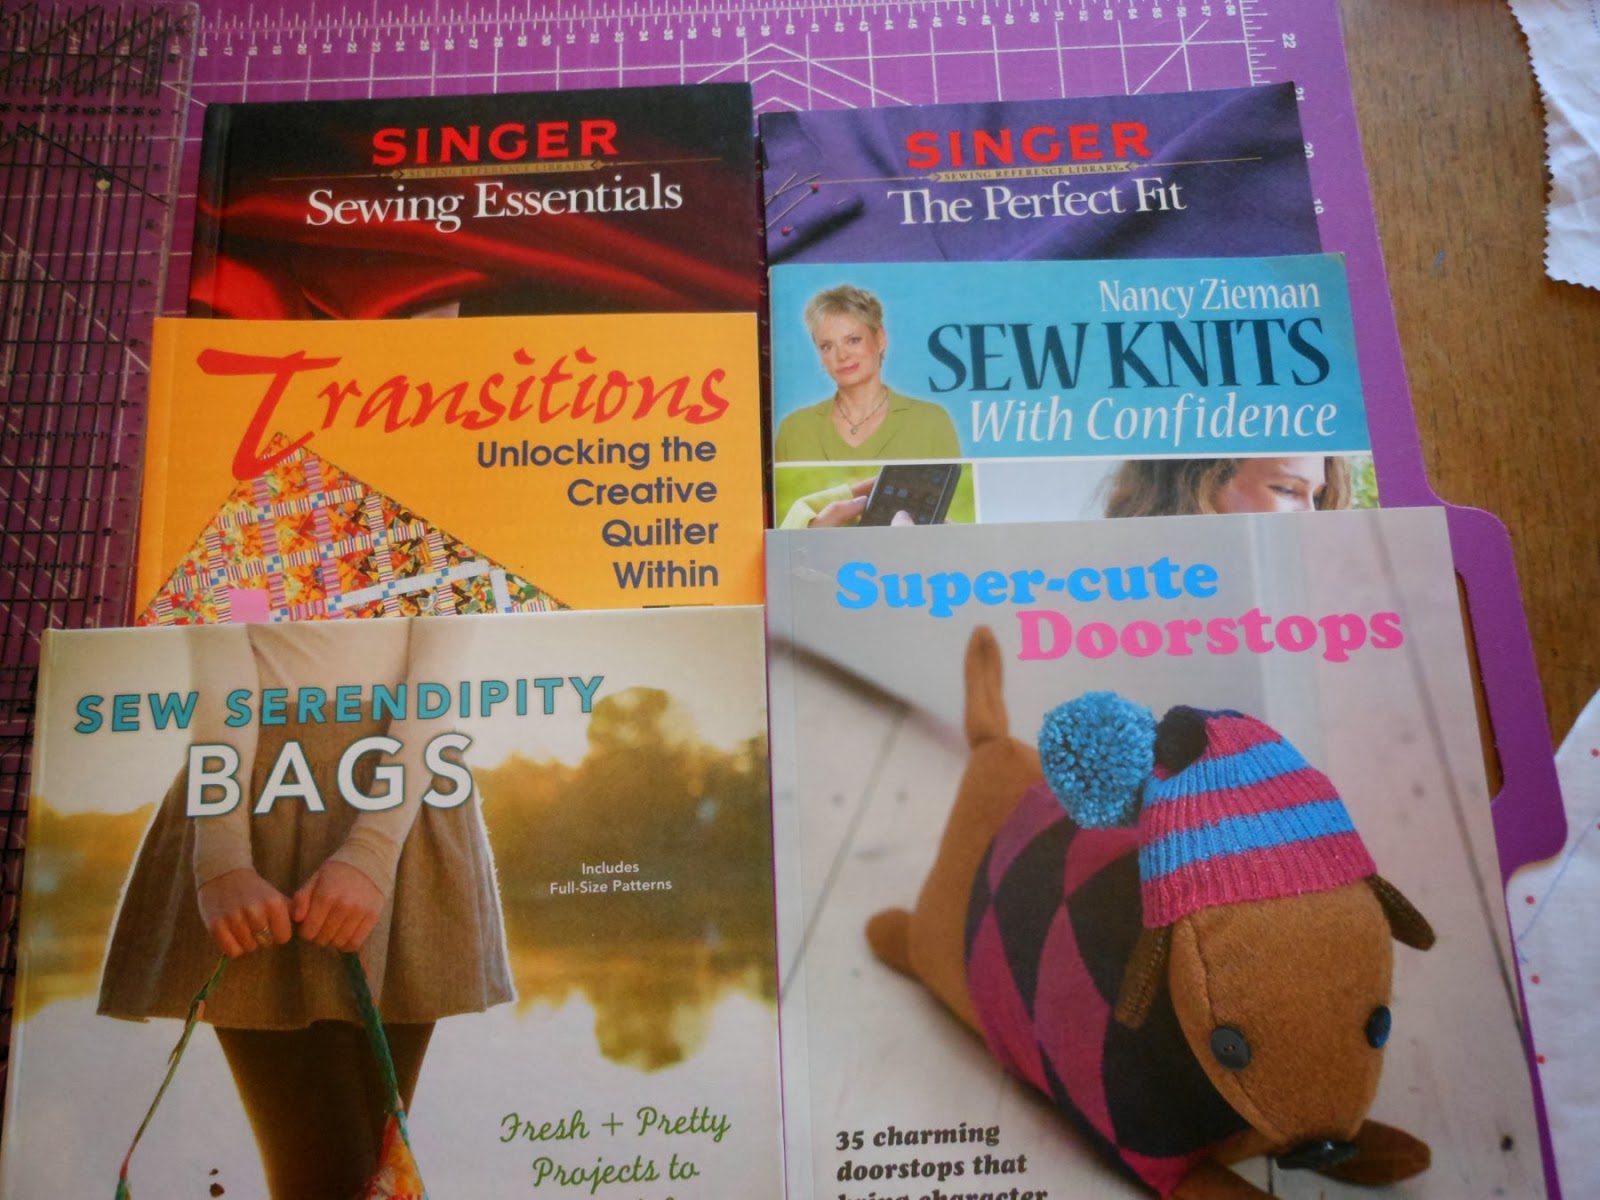
A small sampling of books.
For a couple of years now it has not been really clear how much stuff there is. Take the books for example. They have been here and there, by my machine, on the book shelf, packed in boxes, you know, around. There was no realization of how many there actually were until a few months back they were all gathered up and put in one place; a legal size 2 drawer filing cabinet that quickly became filled to the brim and more with said books. They would not all fit. Sigh.

Looking them over the least I could say was I didn't spend a fortune. While the retail price was paid for some, such as this DK book on Dressmaking,
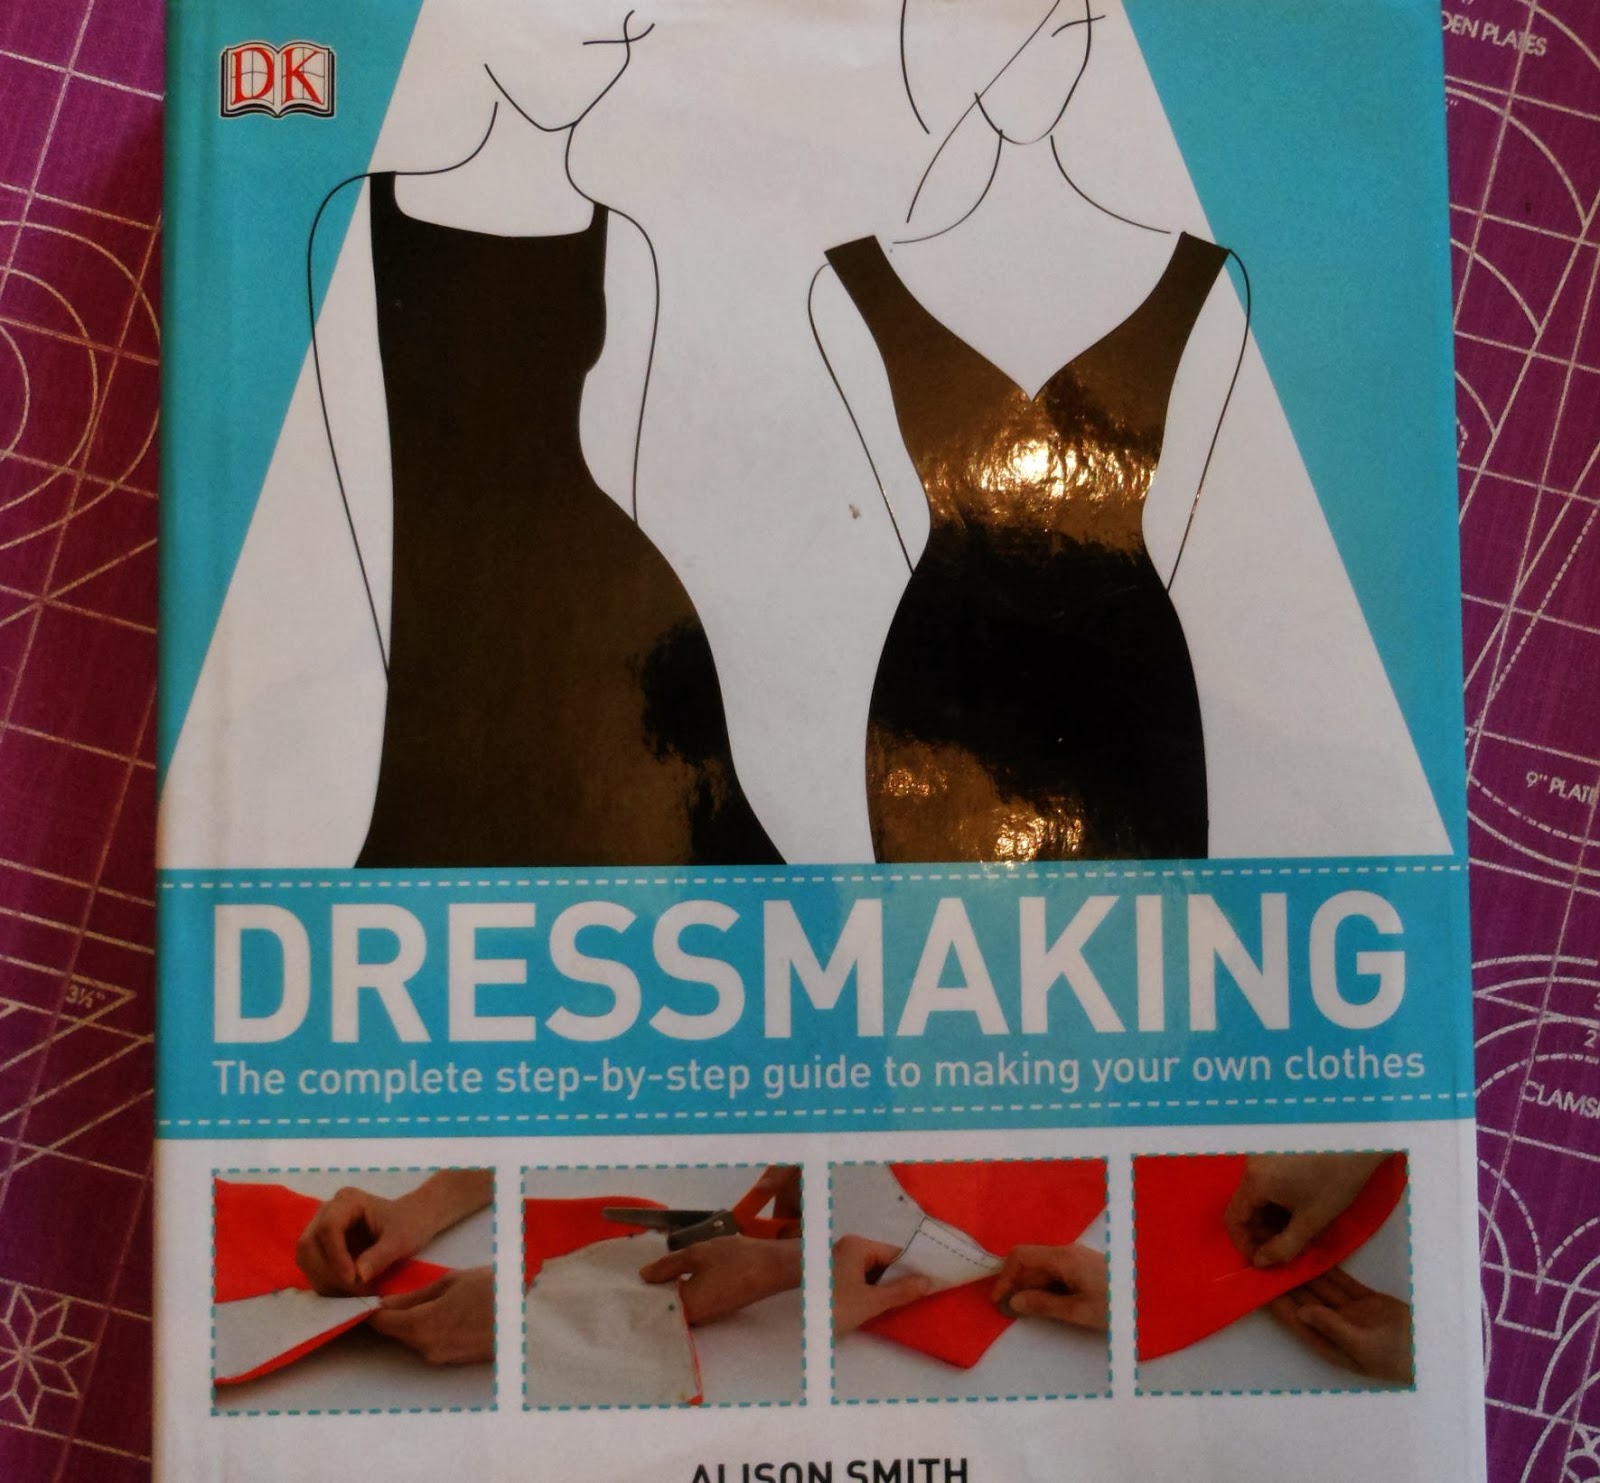
Pretty good resource to have!
most were purchased from used book stores, the local Goodwill or received as gifts. A few were inherited from my Mom's stash or from my Mother-in-law, both of whom now are deceased. Those are precious gems to me.

The book move to the filing cabinet took a looooong time. Every book that was picked up had to be perused, flipped through, ooo and awwwed over and a million projects to be made or techniques to try were written down and their page numbers noted and sometimes even a search for fabric for that project which just started another, much more ambitious project; the one where I organize the stash. But I digress. Back to the books.

The books are bothersome because my life is to a point where I don't want things I will never ever use but keep them, just cuz. I would rather have fewer things and do more with them. I don't think I am alone. There is a common theme among some sewing types. They have a lot of stuff but don't do much with it and they (we) just collect more stuff.

That kinda, sorta, NO.....I have to be honest here,..IS, no, no, no, WAS me. I am a RECOVERING sewing fabric, notion, book, supplies, machine, etc.....HOARDER. Yikes, I hate that. I don't want to be a hoarder but I am and as a hoarder have an addiction to buying sewing stuff. I guess that doesn't seem very shocking to many who are the same. But, saying it here, in this public blog post, it is a bit humbling and I don't like the admission very much.

I am trying to do something about it. Sell some fabric....gads....(it is like the car that looses 40% of it's value when you drive it off the lot), sell sewing machines (does anyone want to buy a beautiful antique Pfaff? Really, it looks like a piece of art and works as well!!), sew more (this part is very easy and enjoyable), go on a fabric buying fast (caved after the first lousy day and changed it to a NEW fabric only buying fast...there still is work to do on this one), and...joined this awesome Monthly Craft Book sew-a-long hosted by Craftytwinmommy.

In this 12 month SAL one picks a craft book and makes a project from the book. Love it!  I am actually using and enjoying some craft and sewing books! Using some of this stuff that is around. As an added bonus I resolved that NO new fabric would be purchased for any project that I make in this SAL. All Stash Baby. Now that's what I'm talking about.

BUT, I didn't stop there. I also resolved to give away all 12 projects to family members or friends. AND...I determined that I would pray for them and their families the entire time the gift is being sewn. It feels soooooo good, so much better than being a hoarder. There is a lot of joy and freedom when one bunches up and uses all their resources, tangible and intangible, for other people.

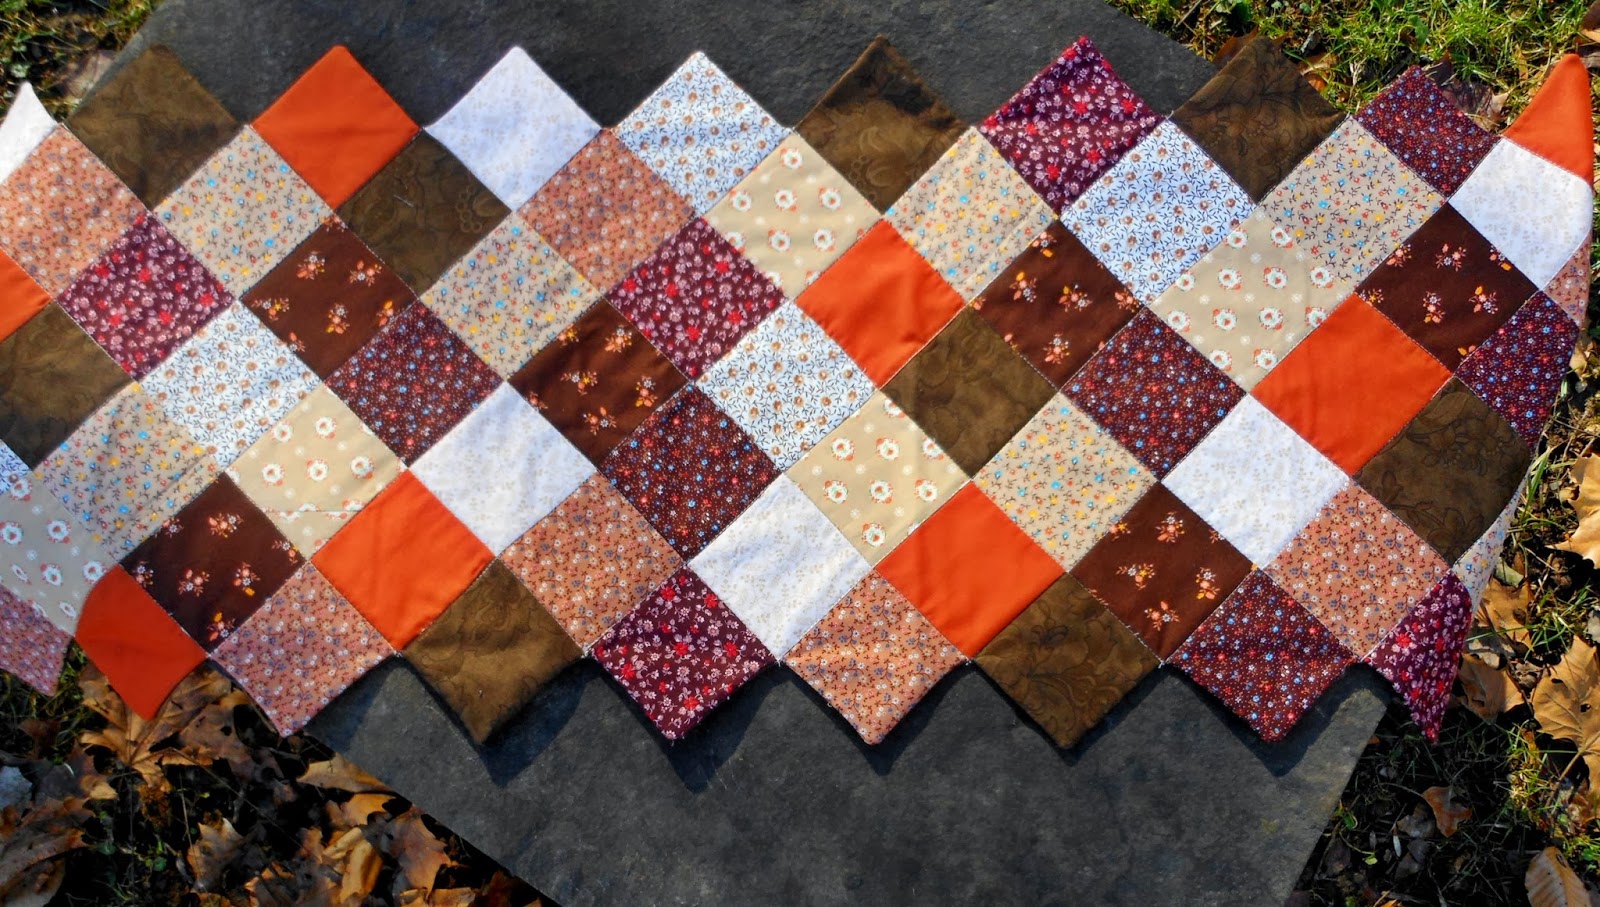
I have already given away the January project to a dear friend who is moving in to a new house next week. The project was called the Boston Common Table runner but this patched piece became "One of these is not like the Other". It is a secret why but some of you may be able to figure it out. :)

A large clear tote of brown, tan and cream fabrics, odds and ends picked up here or there over time has been around the edges of my craft mind for a while. Not normally a neutral color type and never really sure where these fabrics might be used but the tradition of the table runner pattern, patchwork and the fabric equals: perfect match!
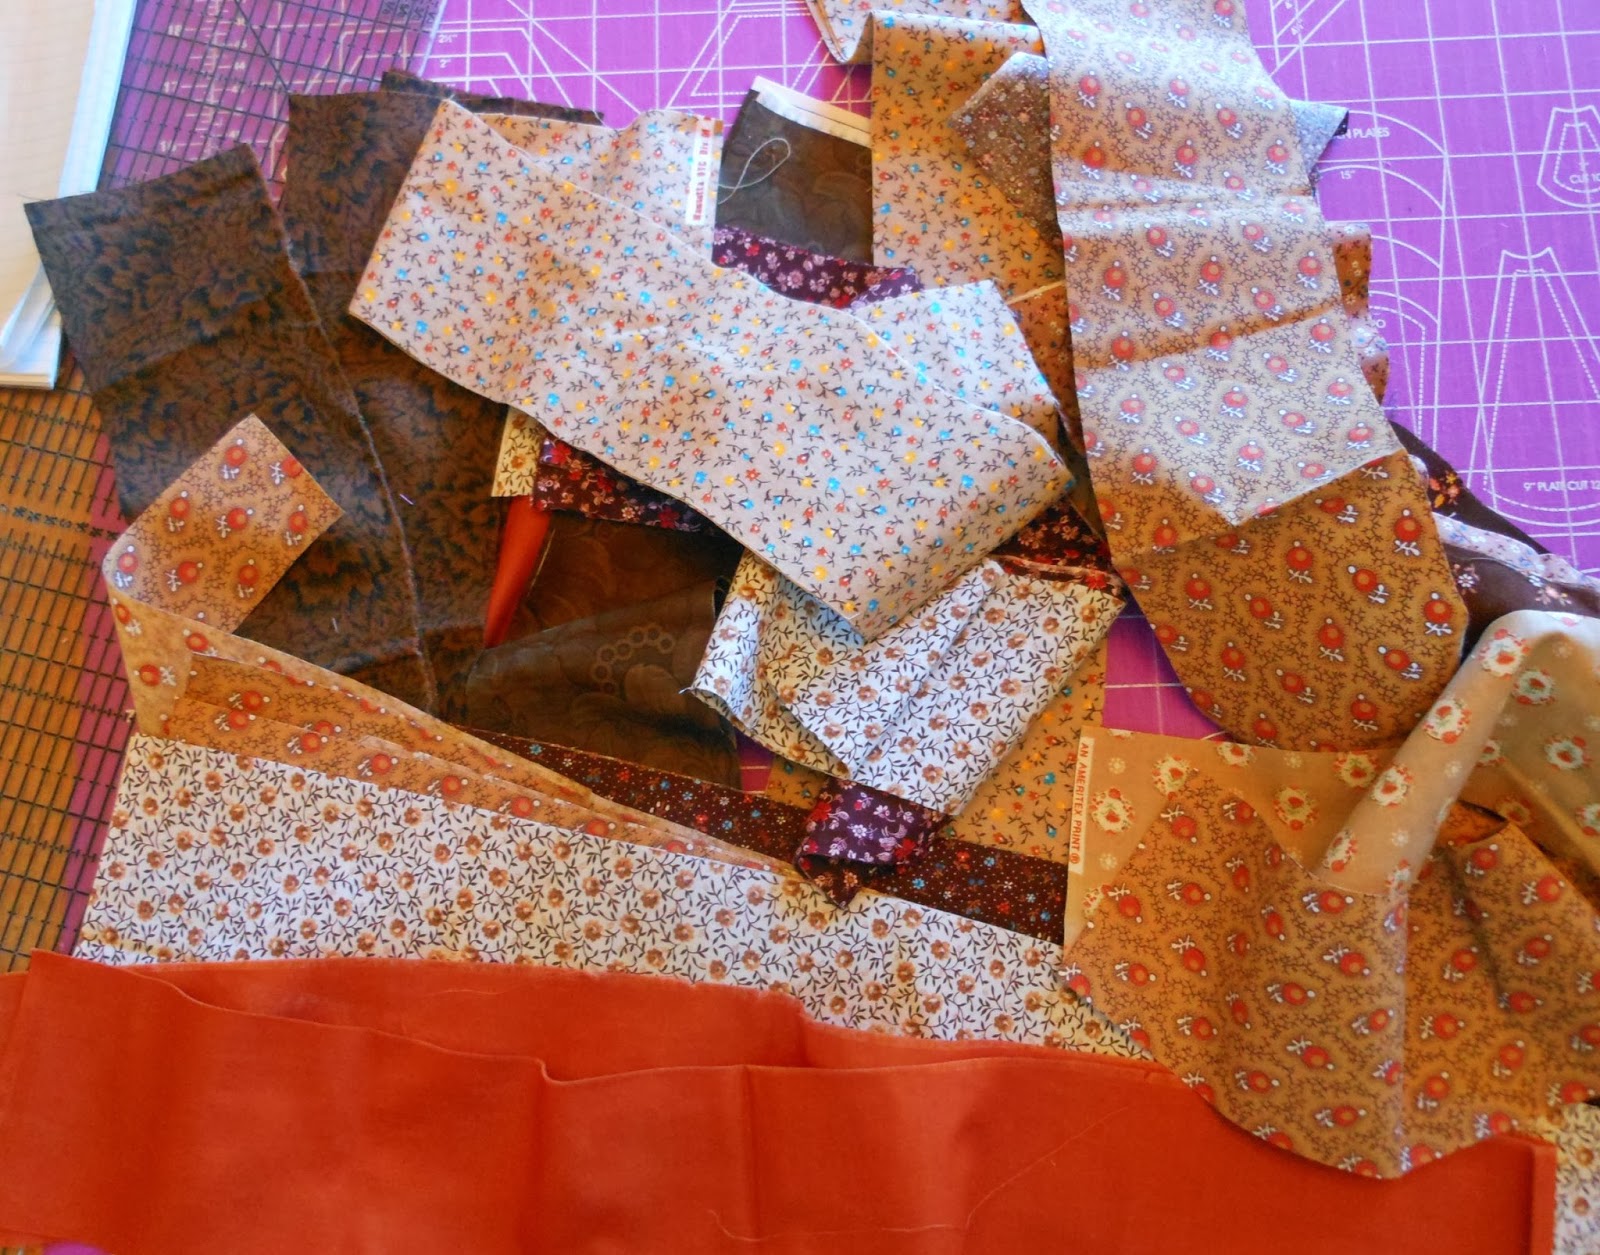
Neutrals and browns; colors I would not normally sew with. 


The pattern came from the book below. As a whole, the projects in this book are pretty dated but this particular design just fit my friend and her family. To borrow a cliche, it seemed meant to be.
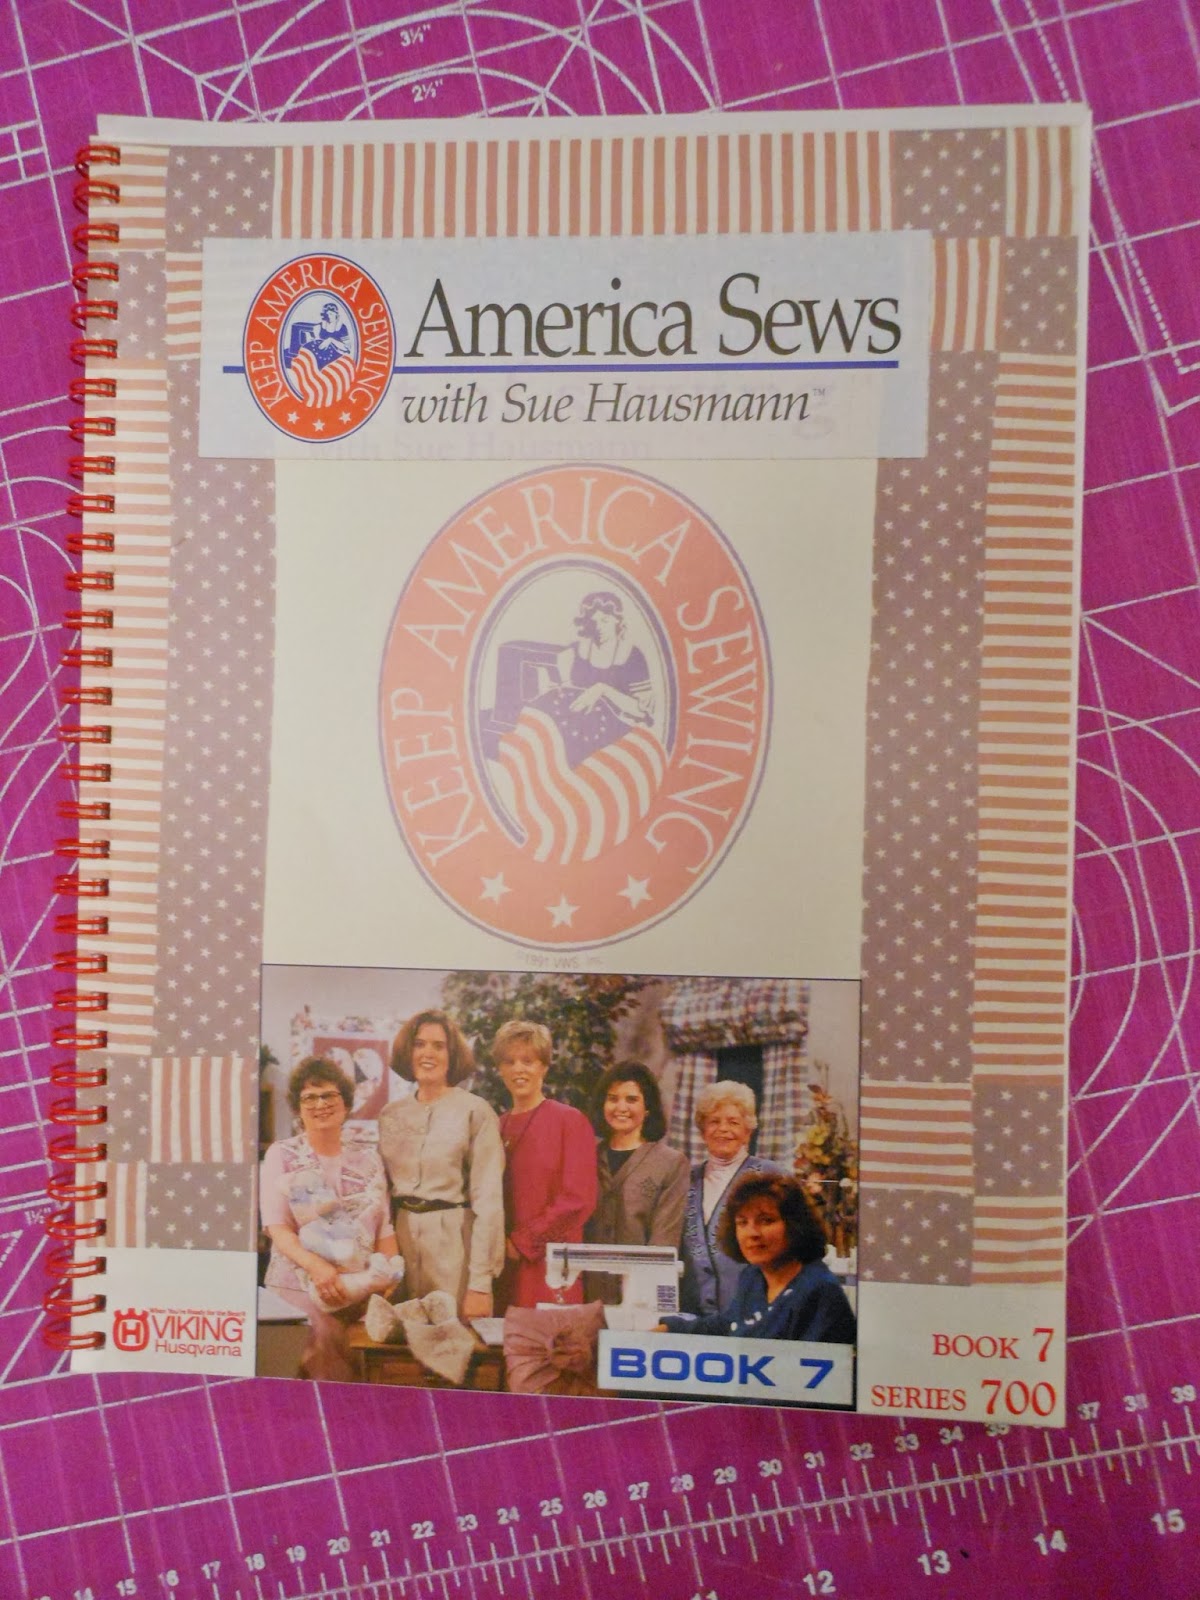
This book series was published by Viking.
The directions were pretty much followed, although, not long on details and there was a step that included this tube, which I would not repeat if I made it again.
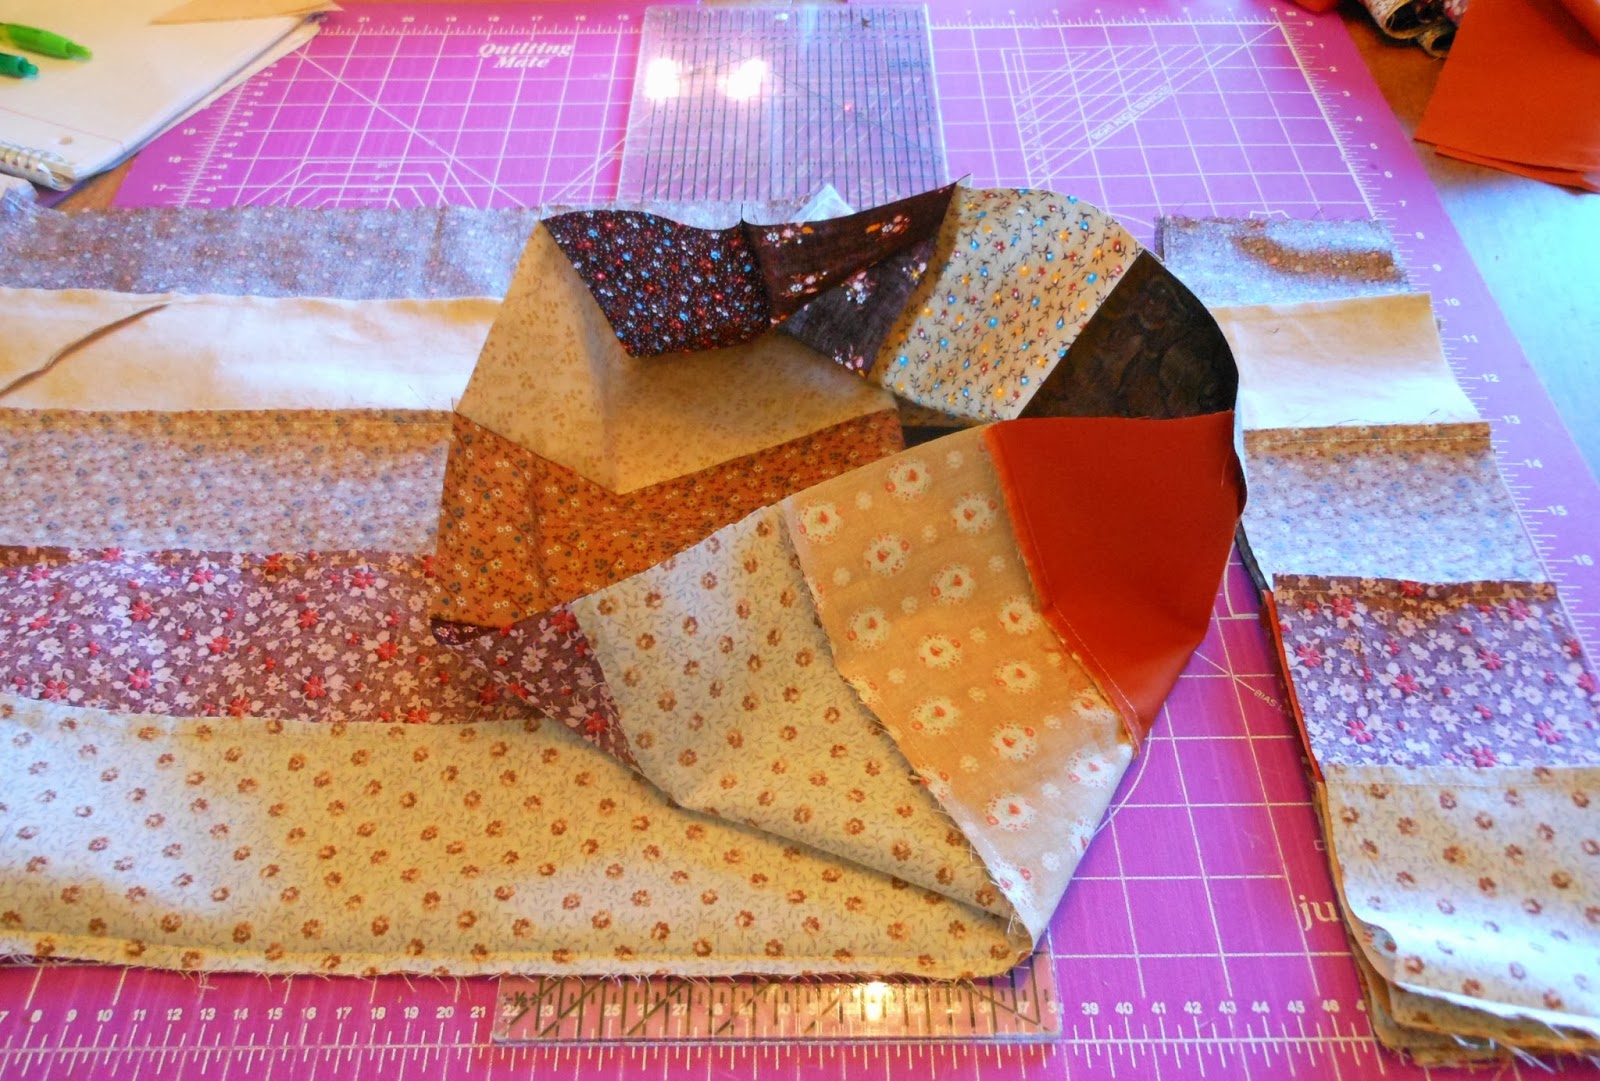
Never understood the point of this tube as seams were ripped out later??
Other than the tube and pivoting all these points when the batting and backing were applied,
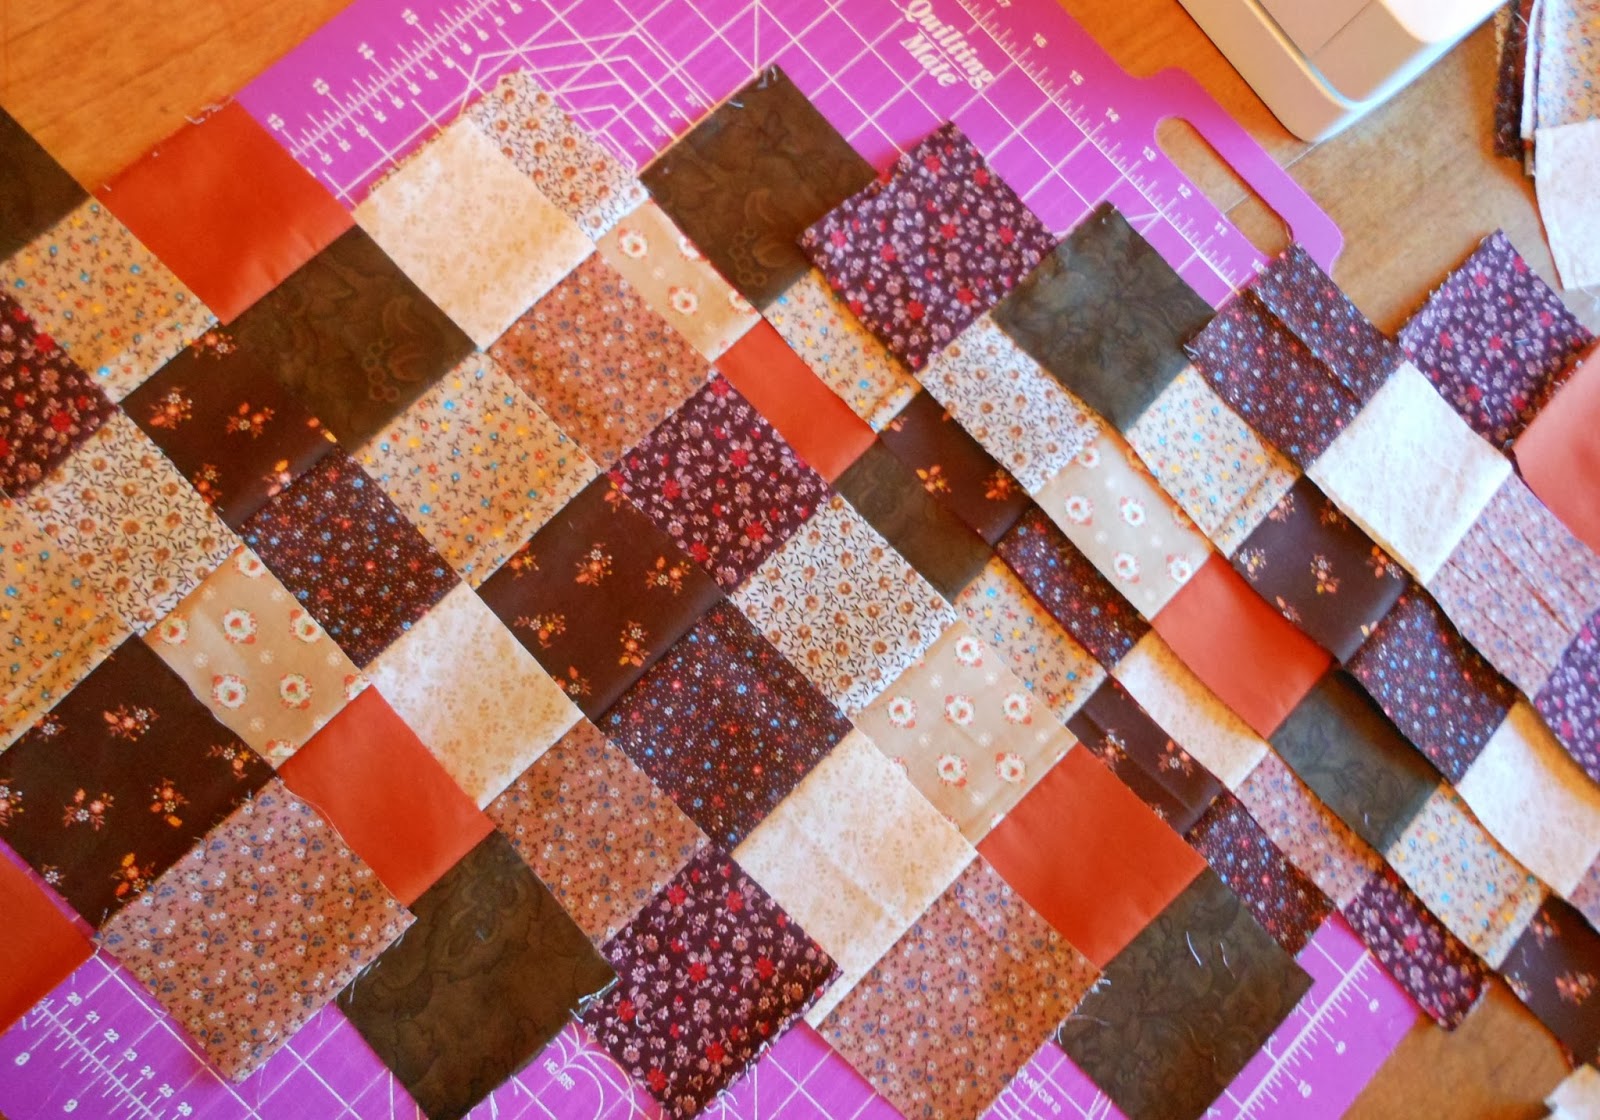
My friend loved the traditional colors. They were a good choice.
it was a quick and fun project. I learned some things and had lots of warm, fuzzy thoughts about my friend along the way. When I gave it to her and told her I prayed for her and her family while making it she actually got a little teary eyed.

Did I mention? Soooo much better than being a hoarder.
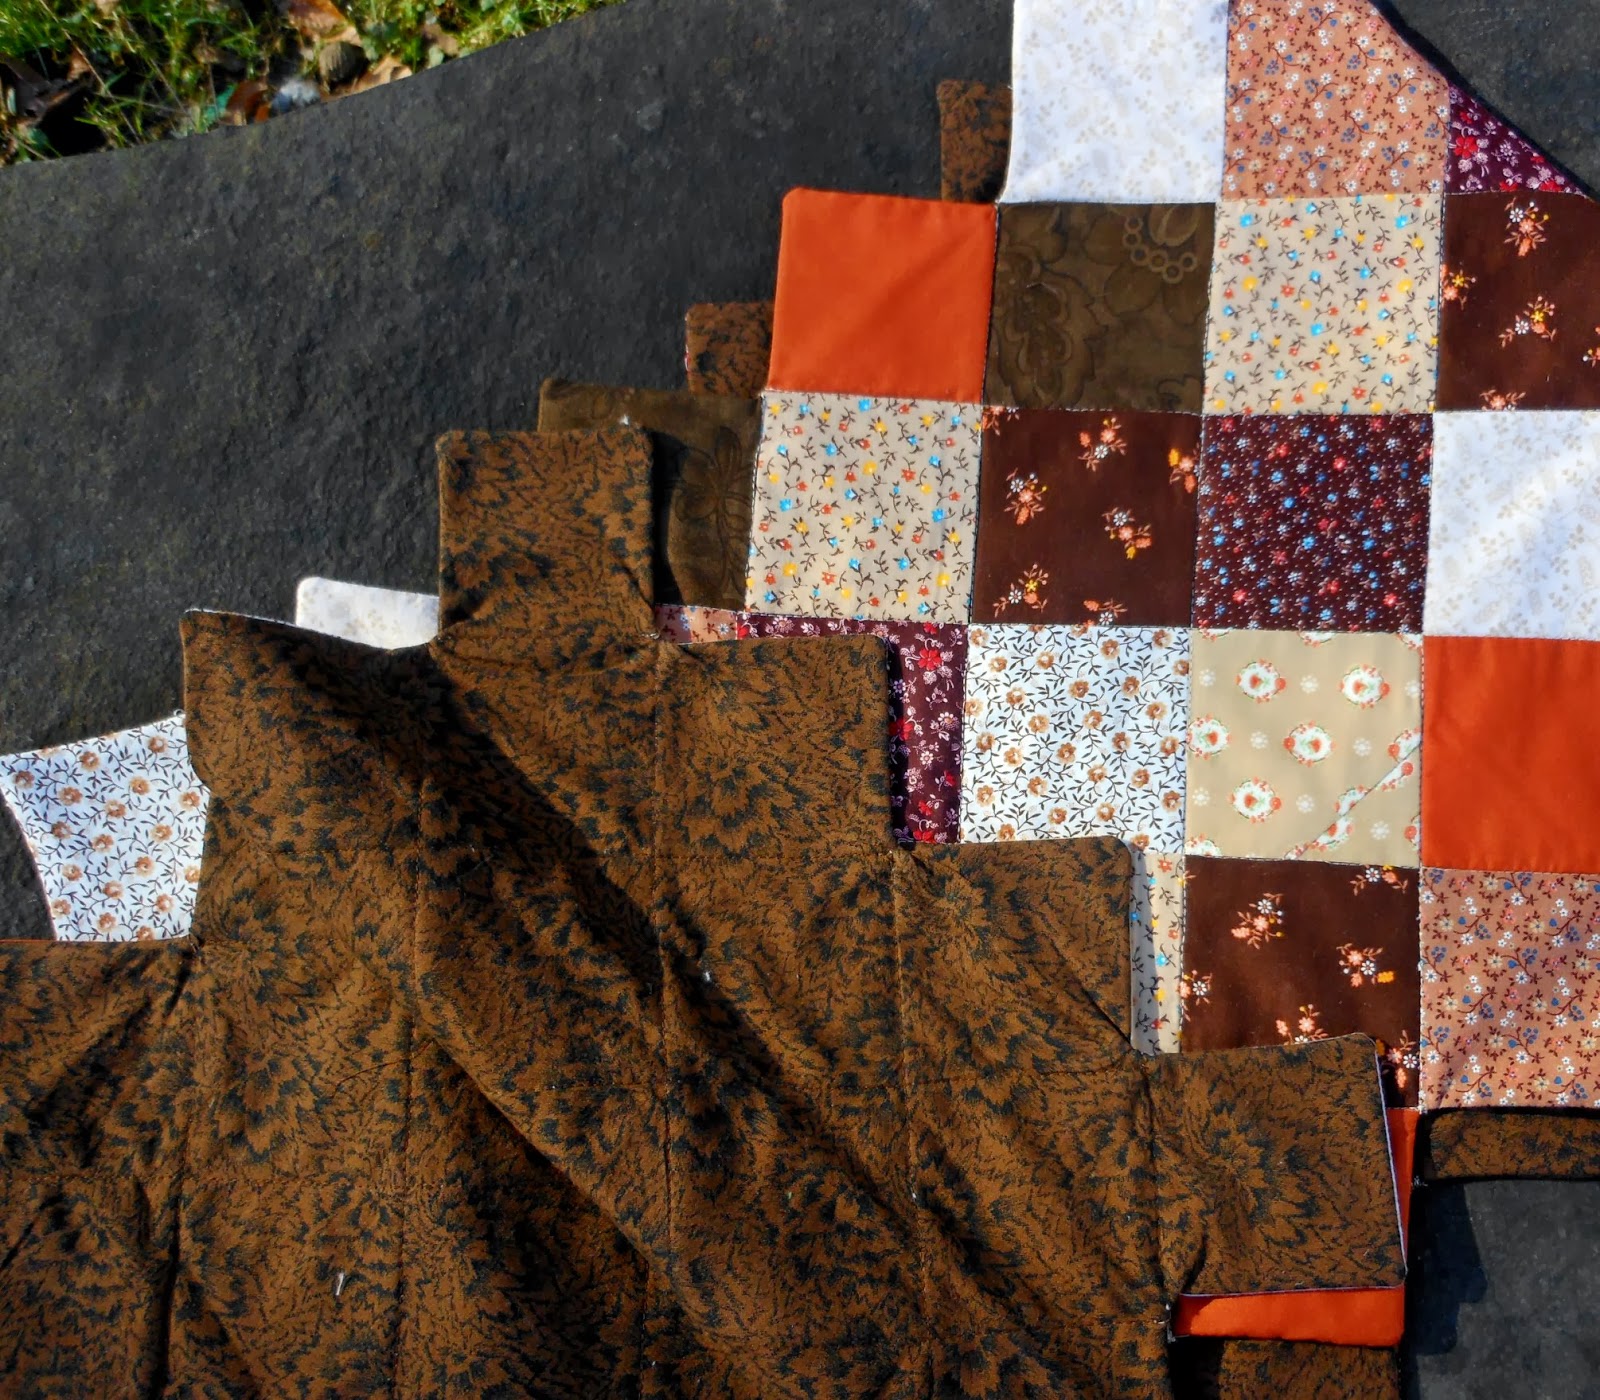
Reversible.

Completed table runner!

Sunday, January 12, 2014

Big City Bags SAL, Fireside Bowling Bag Complete!

The Big City Bags Sew-a-long.  A bag a month for 12 months.

It is not too late to join us!

Hmmmm….after Bag #1 it seems possible!

Albeit, not many bags have been sewn around here; I just don’t “feel” like a person that sews bags. What does that mean? I’m not even sure myself.

I can easily list the bags sewn in the last couple of years. It is a short list. A few easy totes, a bucket type bag a while back and recently, a test bag pattern for Deby at SSE and the Colette Cooper Bag. I wasn’t really sure how this bag making endeavor would go. However, motivated by the design of the first bag which I have adored since last January, I plunged in. My goals were to get some general experience making bags, learn how to sew bag details, the use of different weights of interfacing, work with purse hardware and to end up with some nice gifts for some sweet people in my life. After the first bag of 12, it seems pretty likely it can be done! All 12 I mean.

Very pleased with the end result!

A list of the good:

This bag sewed up easily and quickly once all the prep work was done.

I made a mistake and ended up with two layers of stiff stuff.
A layer of soft and stable AND a layer of fusible fleece.
The bag design had some sweet details that were simple but really added to the finished product such as the accent trim and the bit of piping between the main and accent panels.

Love the shape of the bag and sweet touches
such as the accent panels and clippy dodads!

I really LOVE it when metal clippy things and D rings and the such are added to a bag. Instant glam.

The interior of this bag is large. Love that. As soon as my daughter saw the finished product she listed all the reasons why she needed the bag for herself. J

A list of the bad:

I make copies of the supply list and check them as I get them done. 

There is a LOT of prep work. It takes a loooooooong time to cut all the pieces.
At least it takes me a long time. Confession: I find the cutting part of bag making to be very tedious. Is it just me? I really have to break out the “get ‘er done” attitude to get it finished.

I think I may have done something wrong because the lining part did not compute. Mine just sorta hangs there. I actually plan on tacking it in the corners after this post. It is too floppy.  The next time I make this bag I will be adding ½ inch seams to the pieces and using French seams to finish. I also am going to layer and cut my lining and main fabric pieces all at the same time.

I ended up with extra bag and interfaced pieces. Wonder where they went? Haven’t a clue.

Some of the directions seemed to be lacking in details and I think I found a couple of omissions or mistakes but, again, this is probably just me. I found myself ignoring the directions a few times in order to get something done.

All in all, the bag was a success and I am quite happy with the end results! Thanks Angela for hosting this SAL! I am looking forward to the February bag.